Over the last year, I’ve been lucky enough to be involved with working on a series of Verified View projects, for a fantastic CGI studio which specializes in this kind of imagery.
I have worked on Verified View projects before, and as an artist there is always an extra level of satisfaction knowing what you’re creating is demonstrably accurate. But I have to say that the accuracy of the supplied survey data and photography for these latest projects has been astounding. Making it truly a pleasure to work with: Survey points and camera data that match up absolutely perfectly, first time, every time. Even on large panoramic (stitched) photos, and over huge distances. I can’t sing their praises enough.
There are plenty of other places on the internet which will explain Verified Views (or Accurate Visual Representations), much more comprehensively than I’m going to here. Plus, the chances are if your looking into them, then you already know how important they are for planning applications.
Unfortunately I can’t show you the images I’ve actually been working on. The ones included in this post are images taken from one of my photo-montage projects, but they illustrate the various stages of AVRs.
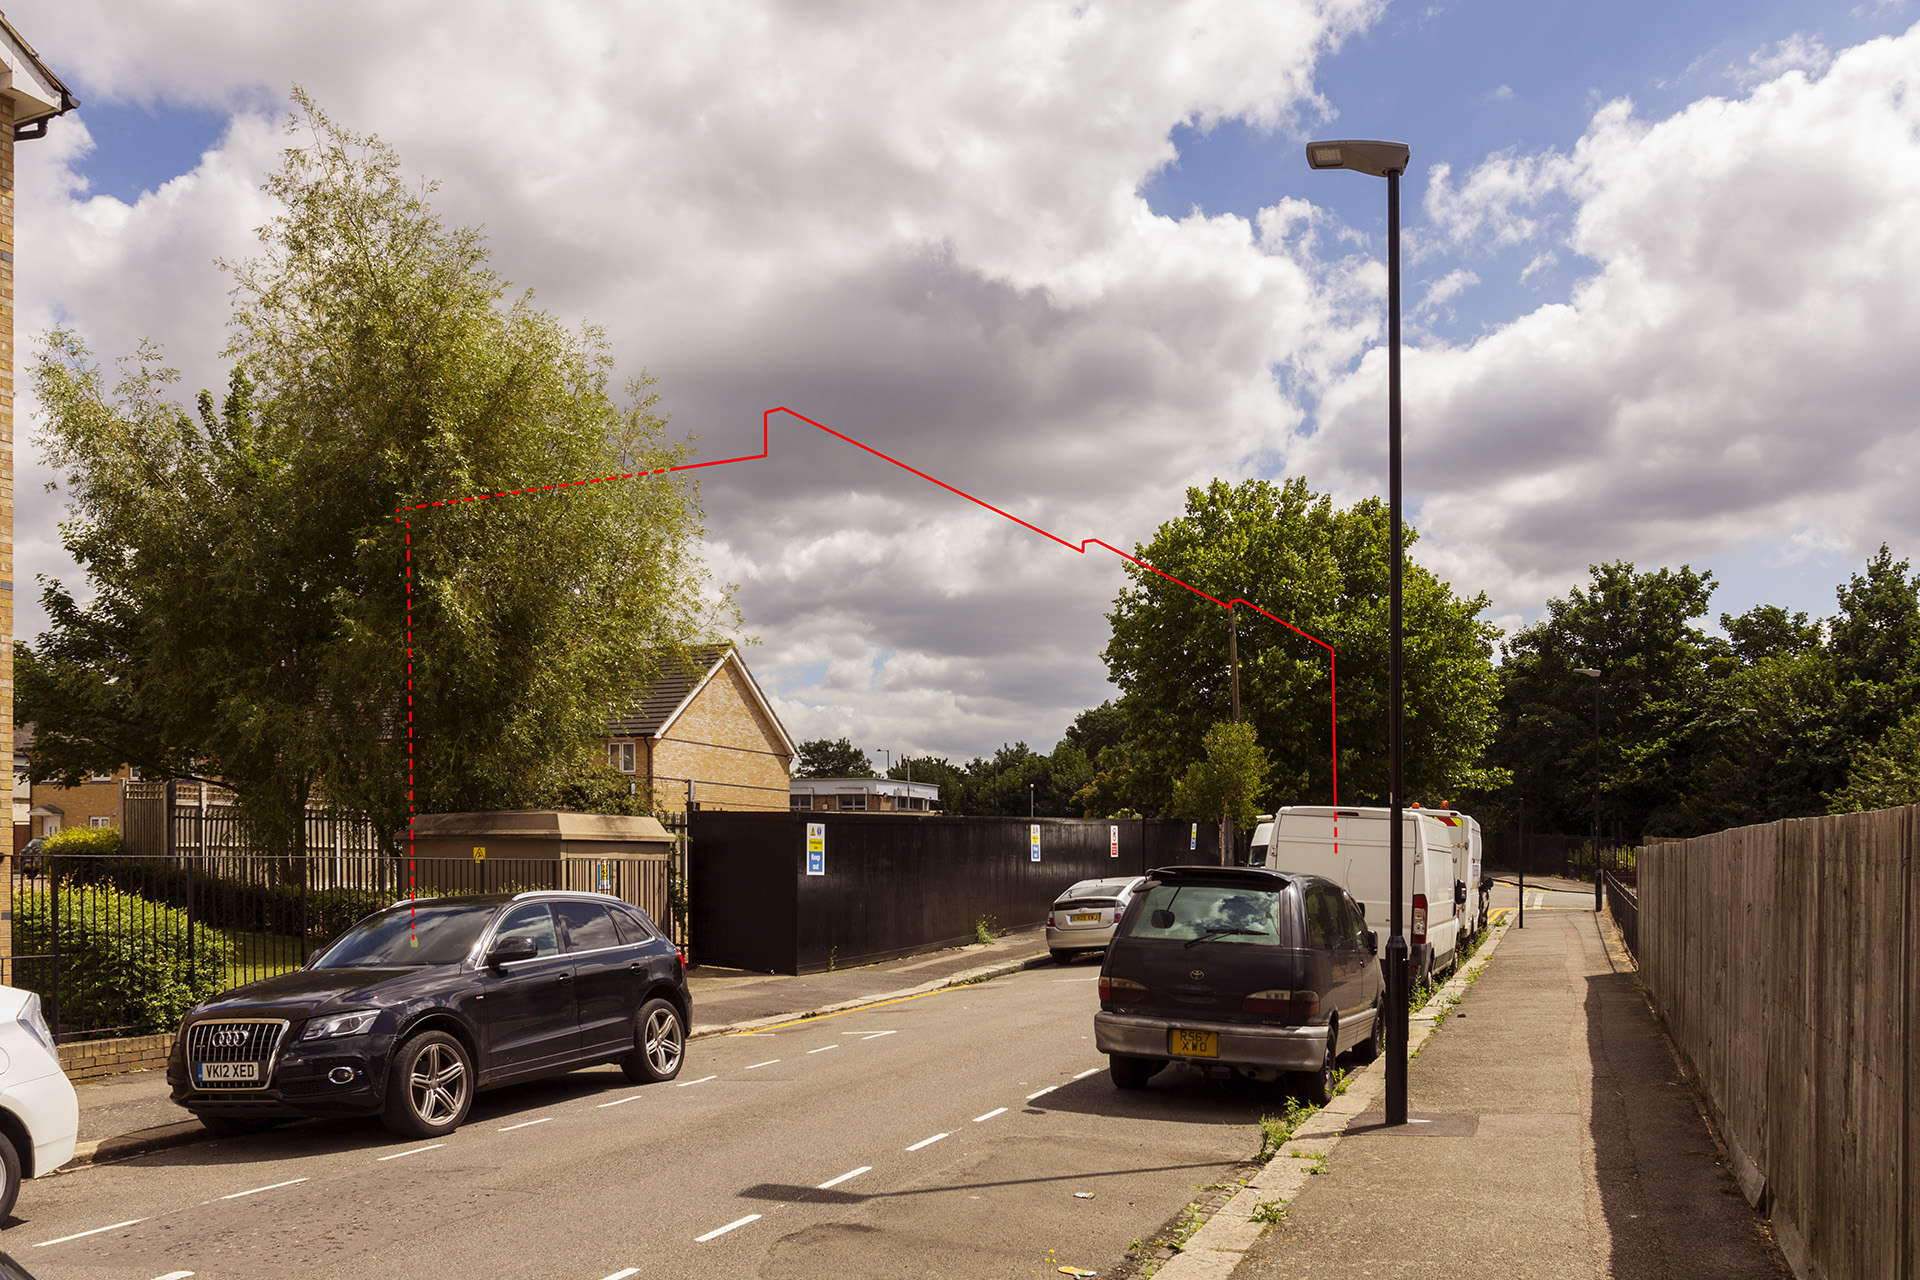
So, above is an AVR00 image: The proposed building is shown in outline, and in this image, the portions of the building which would be hidden behind the existing environment, are shown dashed.
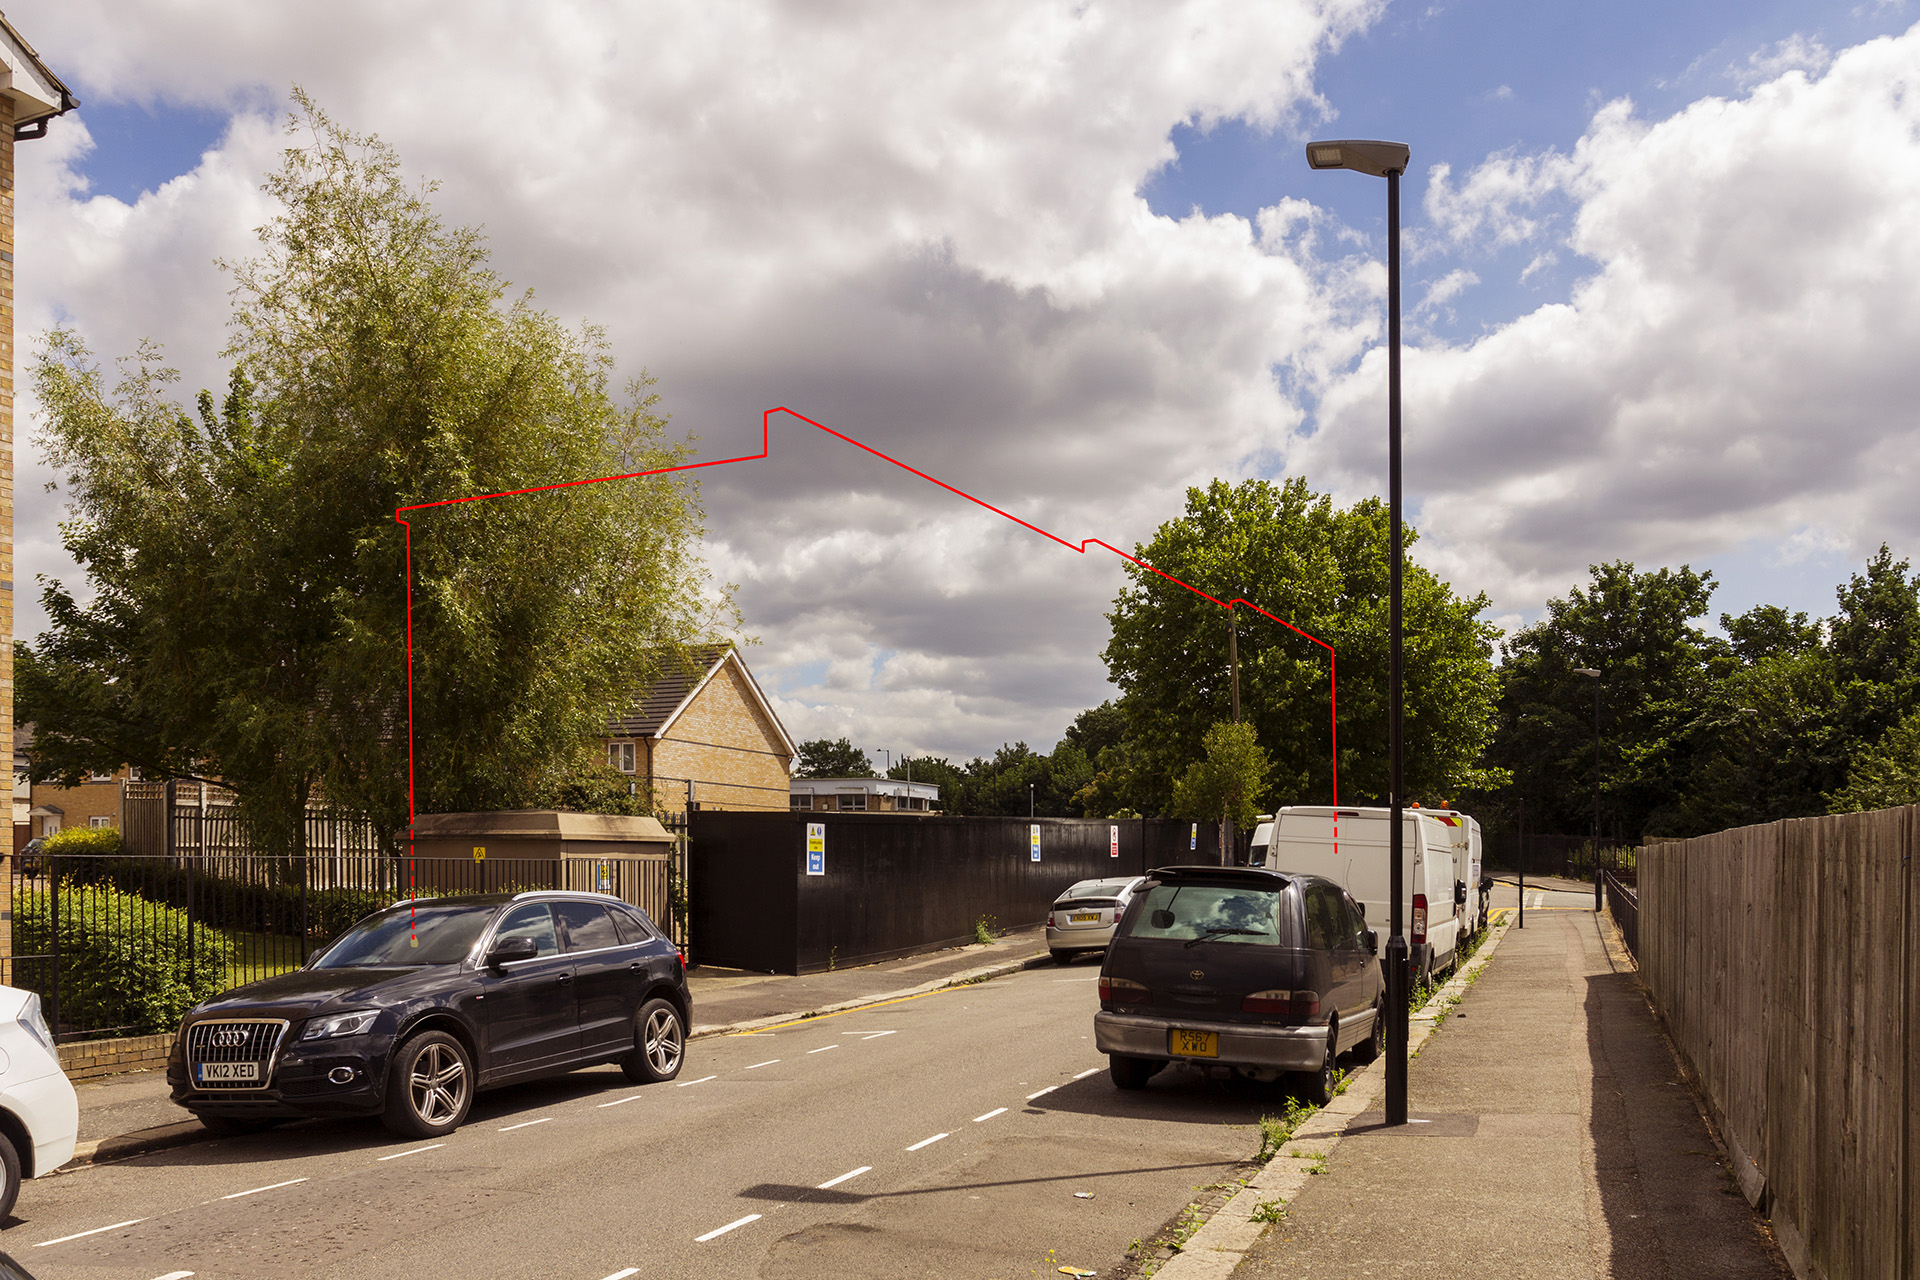
In this particular project it was decided to remove the tree on the left, so above is a revised image with less of the outline dashed.
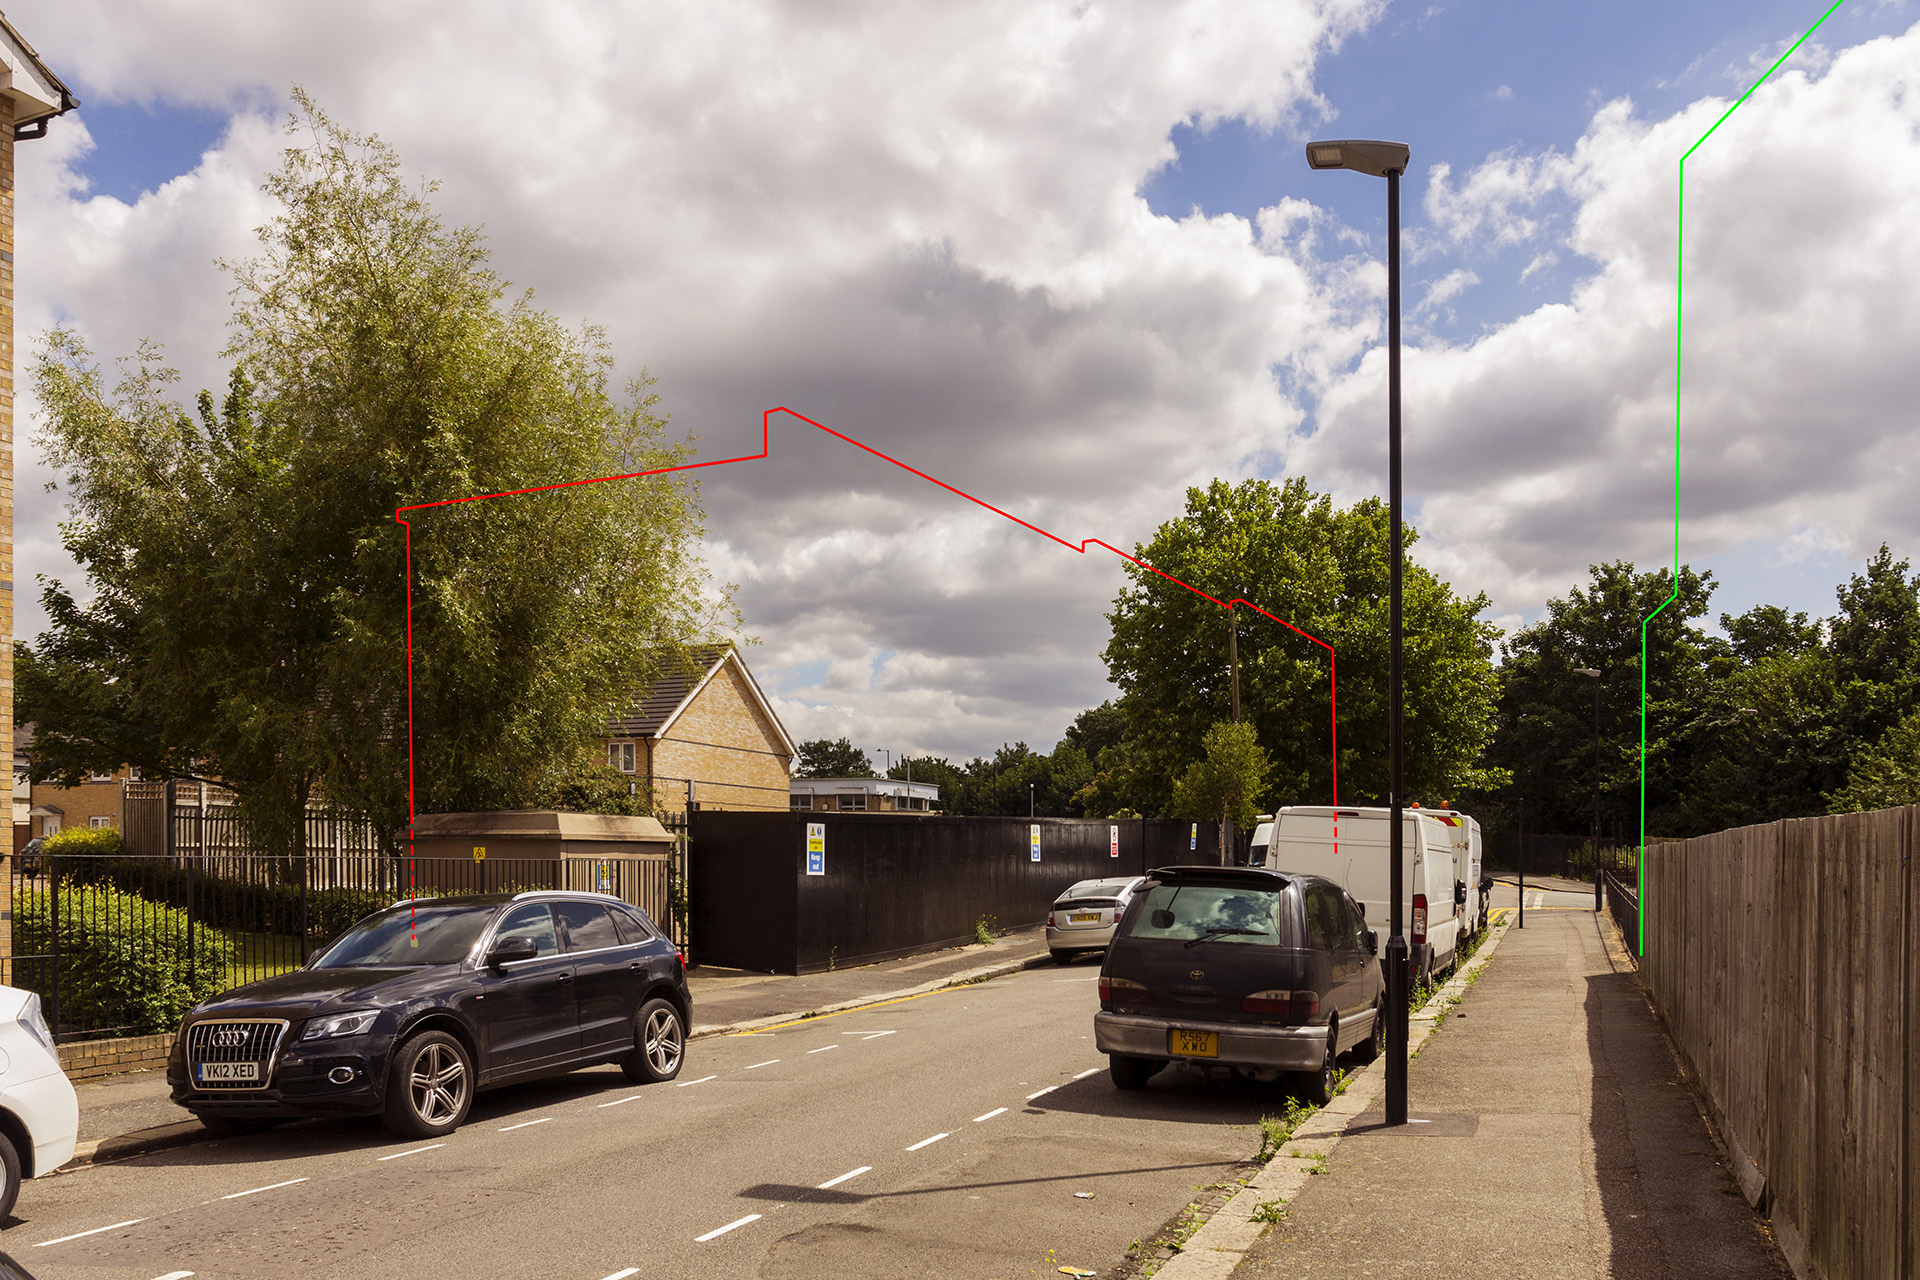
In some of the recent projects I have worked on, it has been fundamental to show cumulative schemes. Cumulatives are other building developments that are proposed in the area, these may already have planning permission. By showing them in context with the development in question, it gives planners a much better idea of the future environment. As you can see from the above image, another building is shown in green outline, proposed opposite our building.
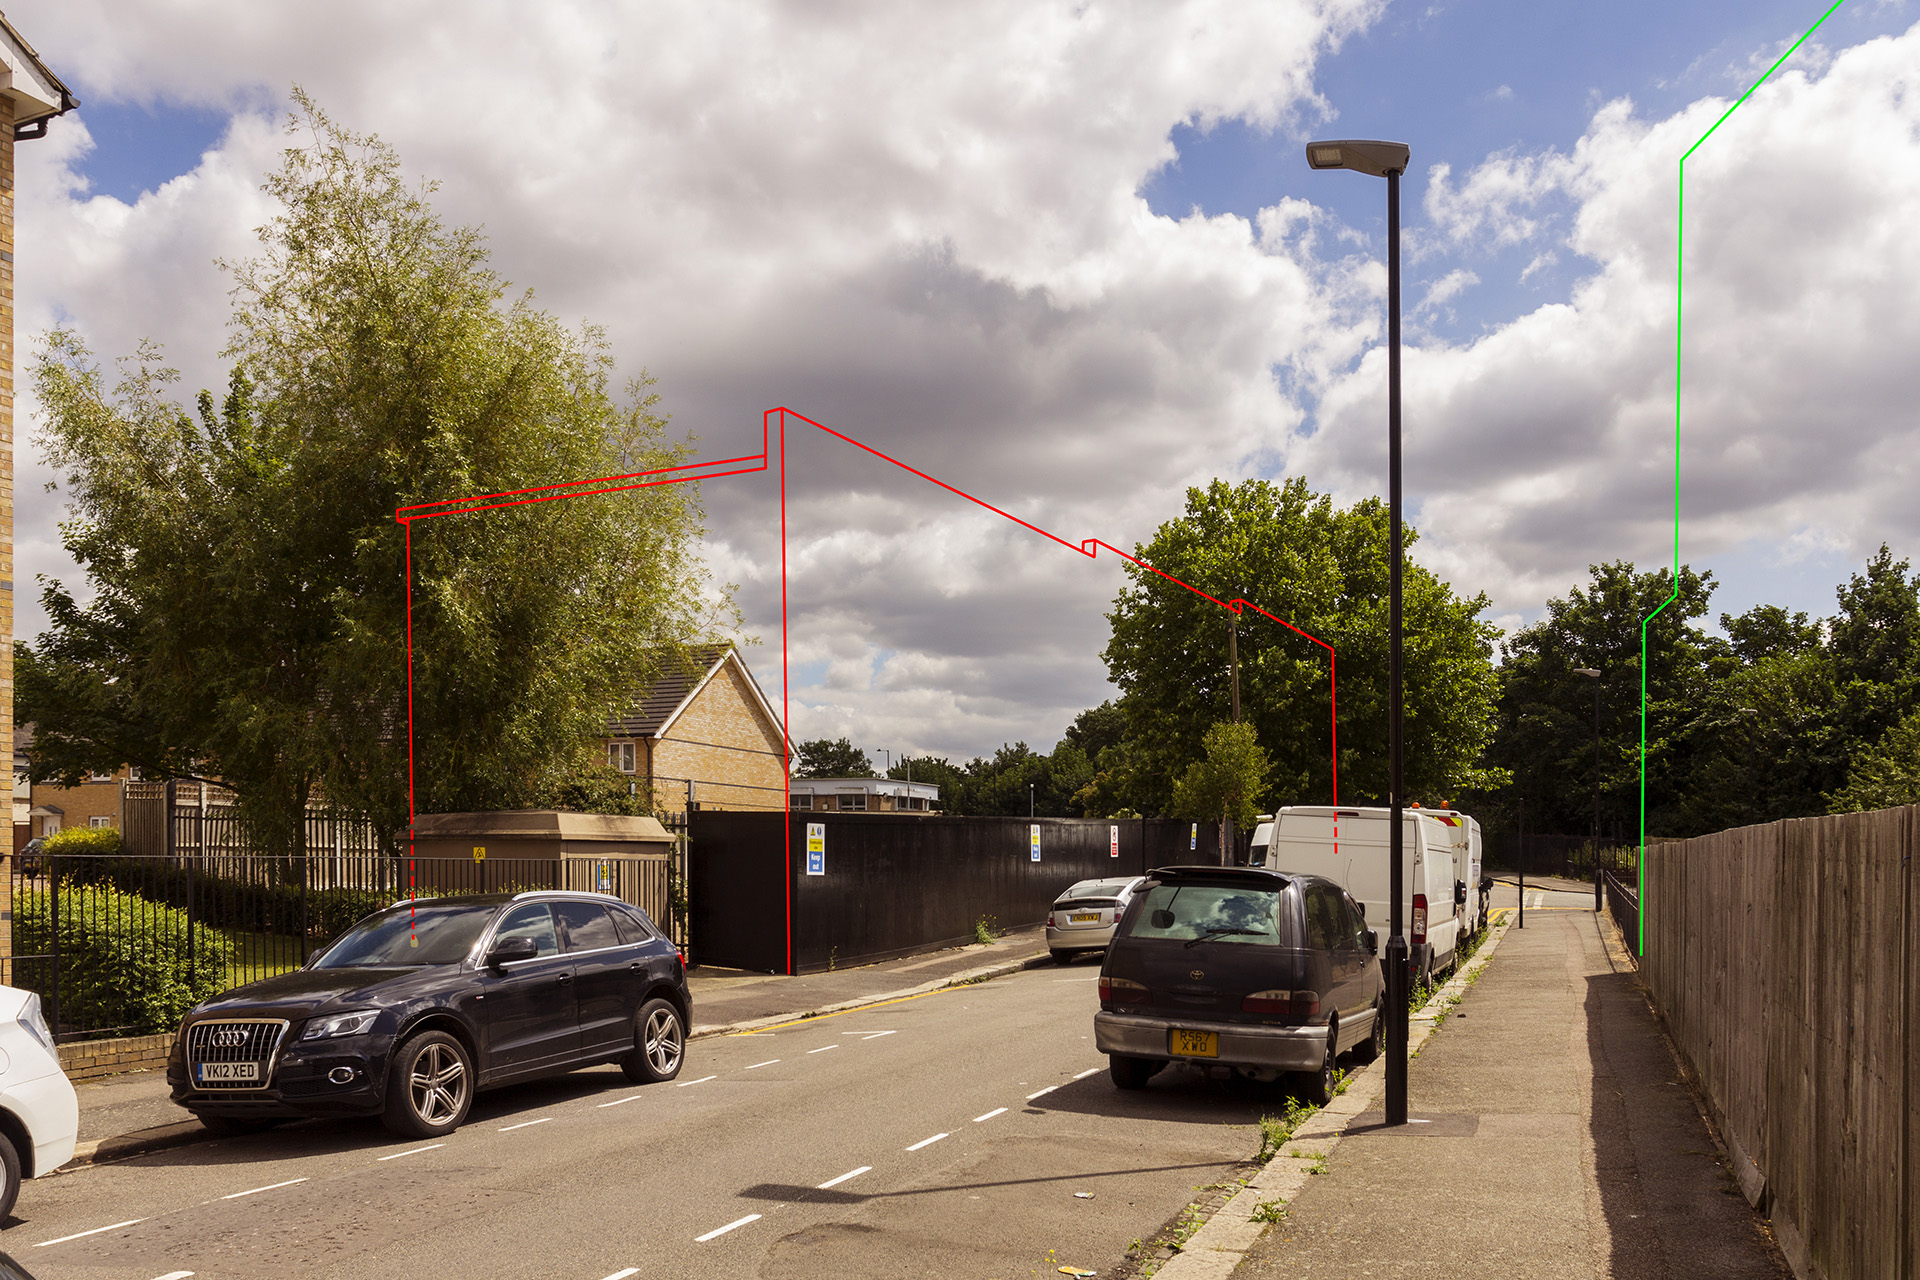
A step on from AVR00, would be the AVR01 style image above: More of the 3d form of the building is shown, with extra wirelines depicting shape.
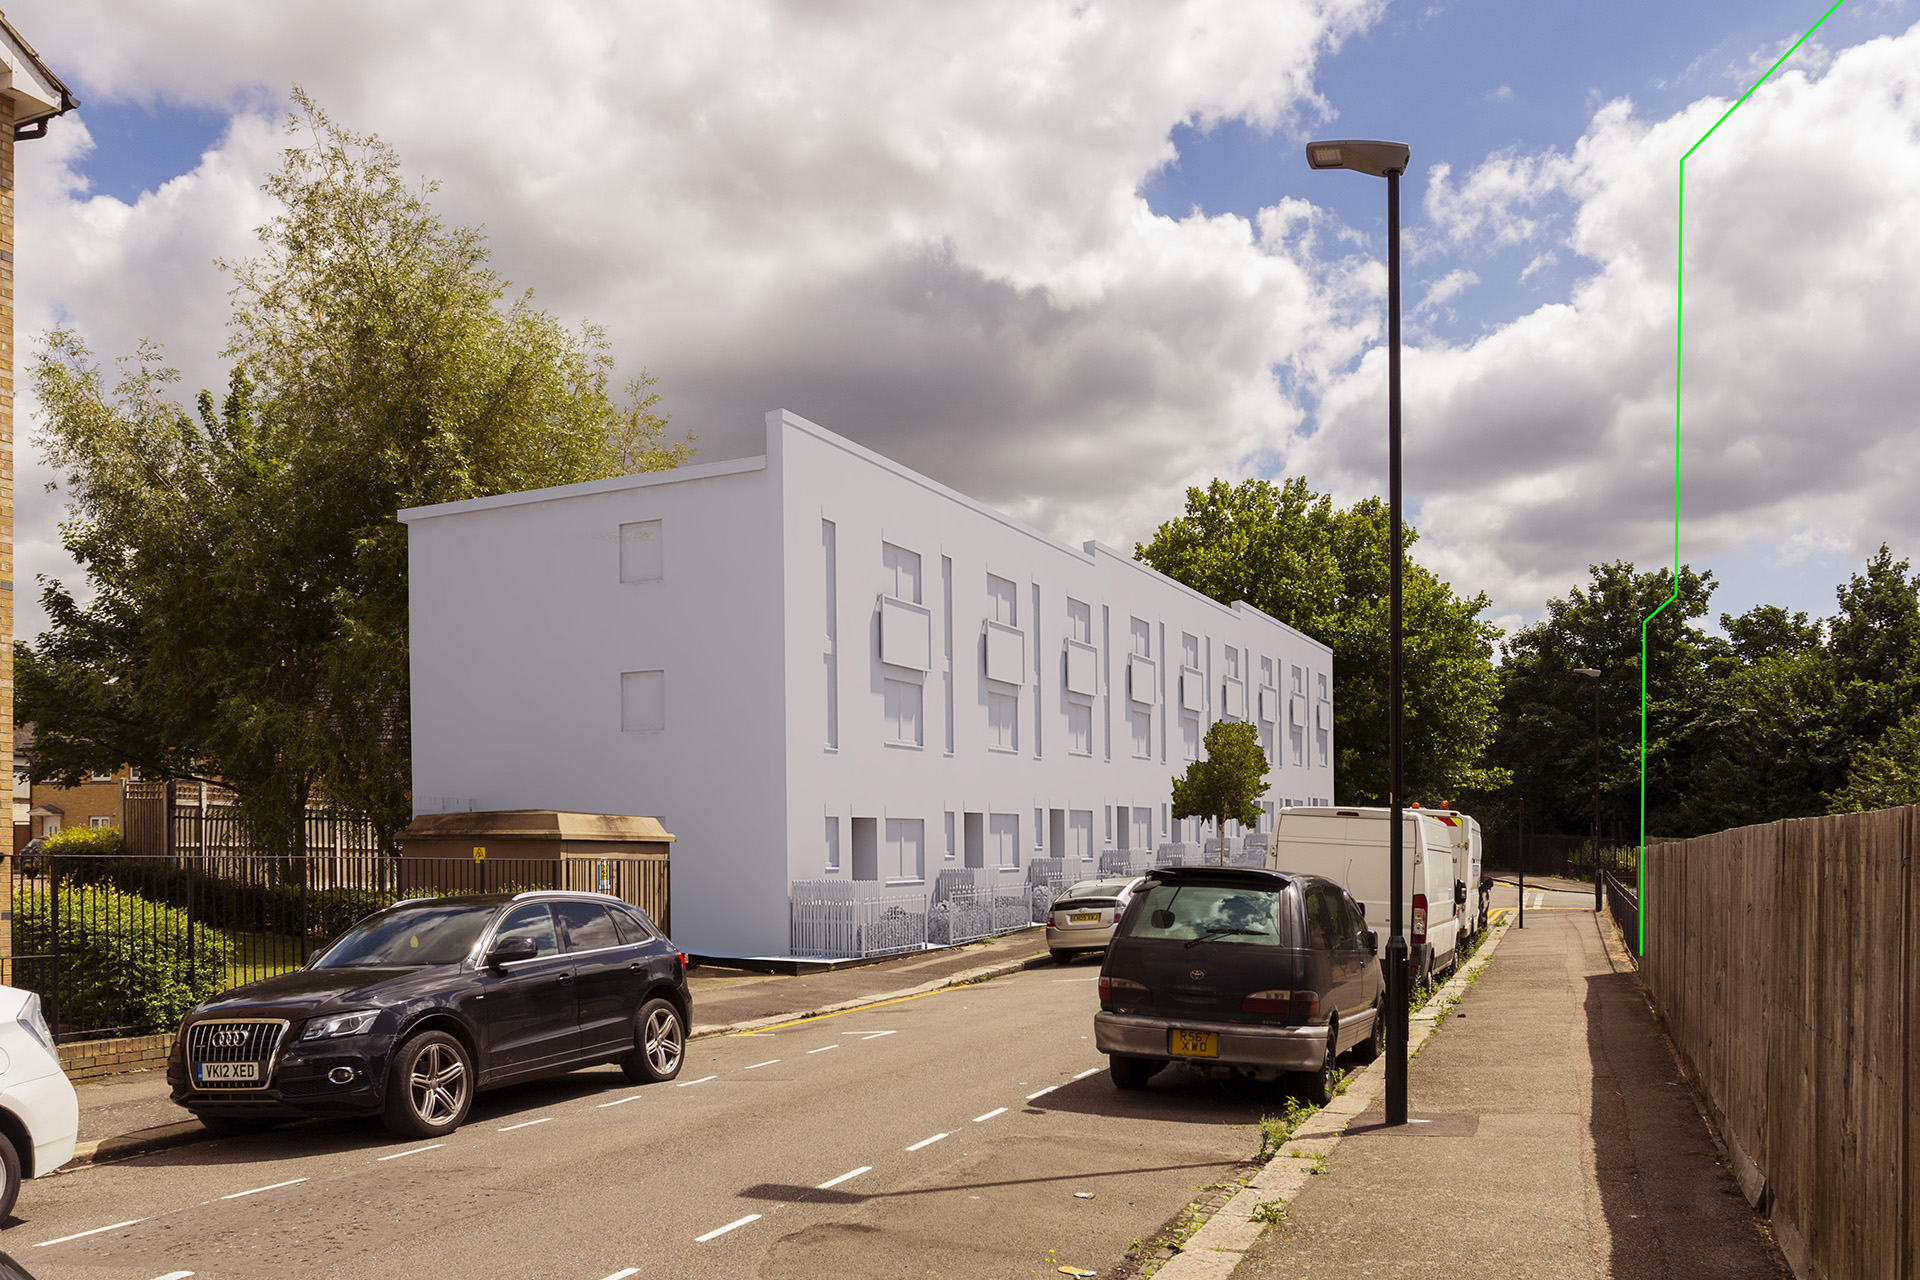
The above image is an example of AVR02, here the building is shown in its true from, using a simple uniform material. It is also accurately lit, to match the sun and conditions within the background photo. As you can see, this can still be combined with an AVR00 style outline, for neighboring Cumulative schemes.
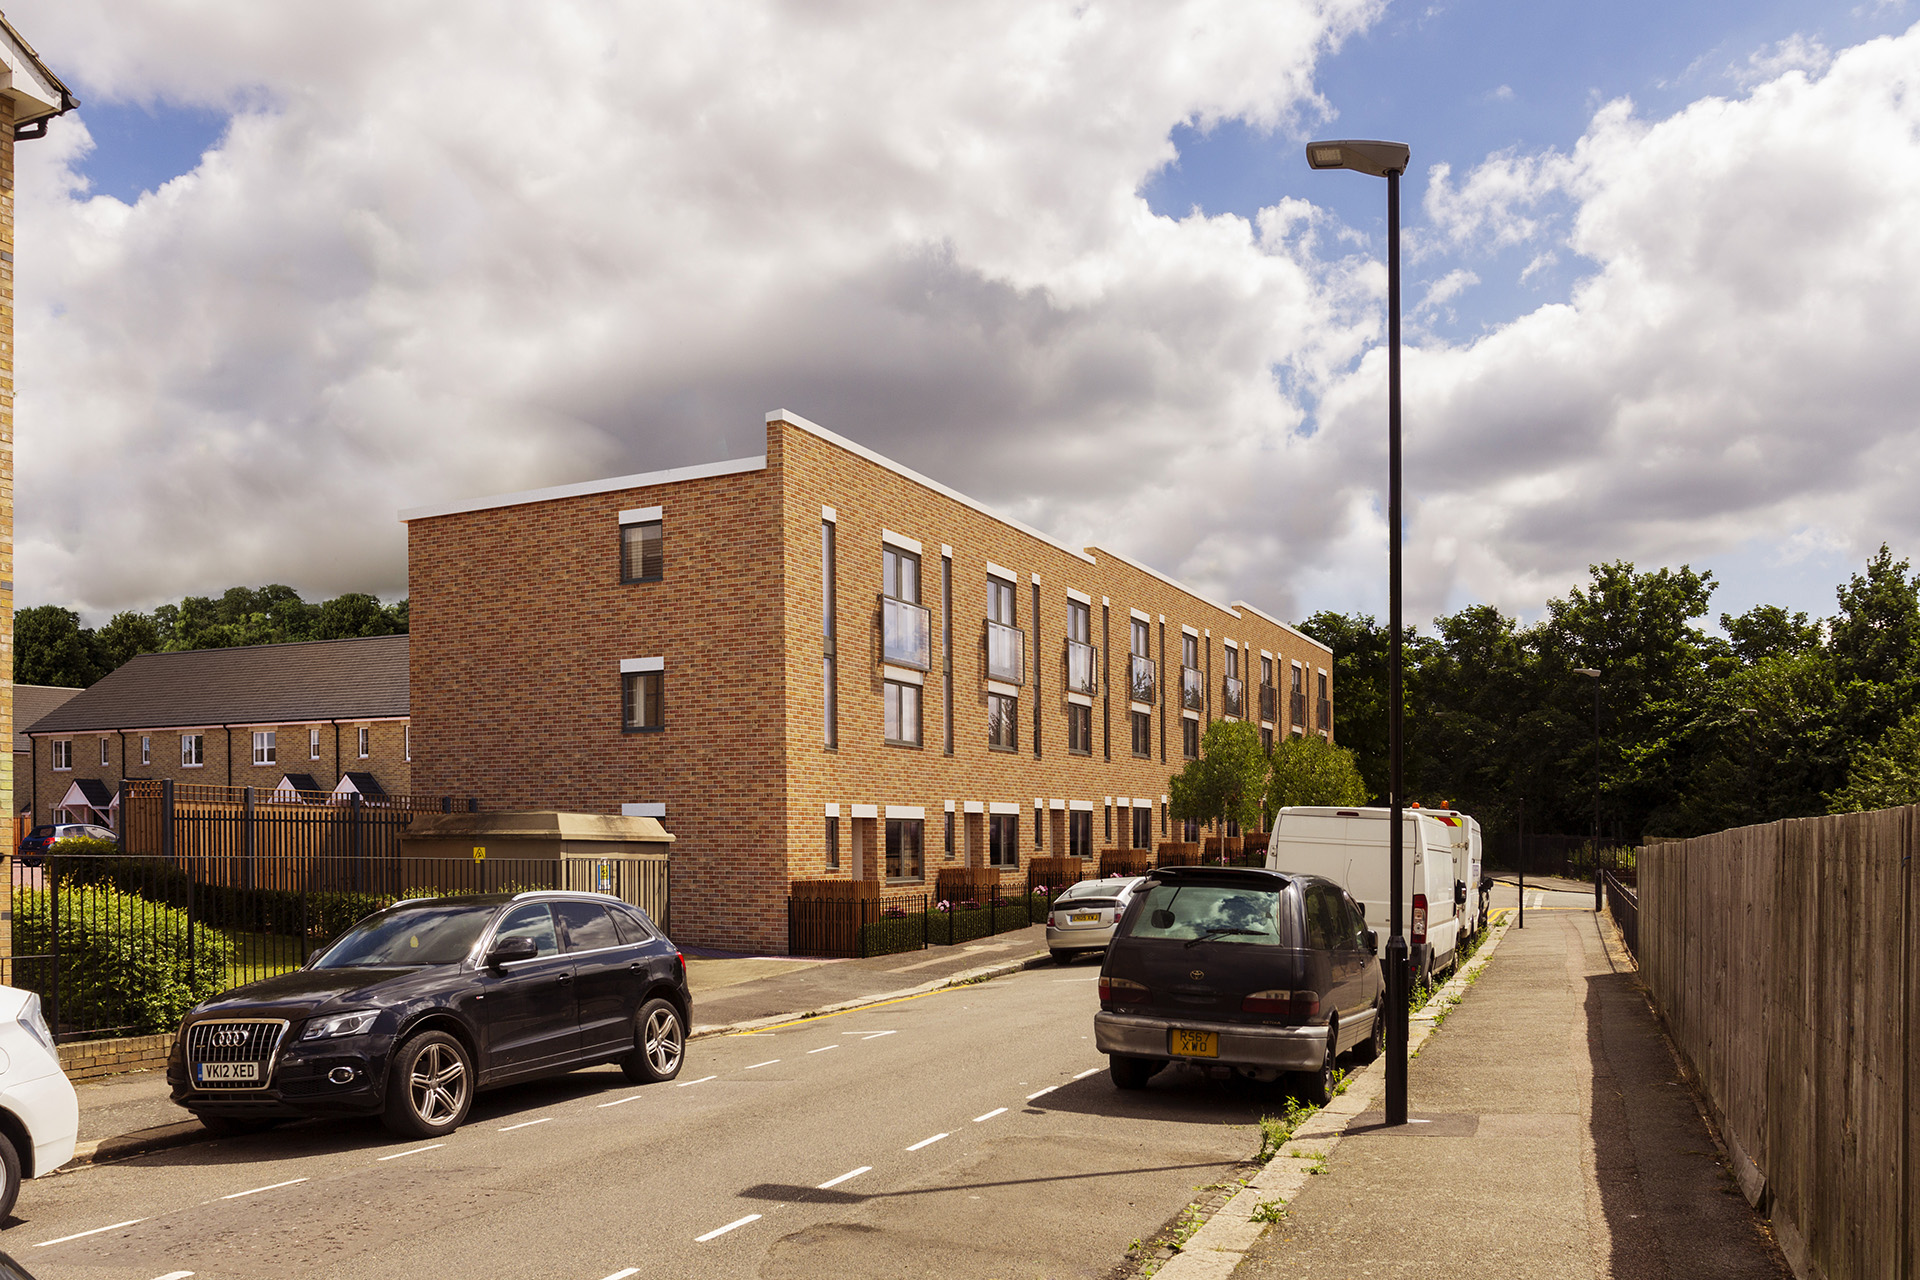
Finally there is AVR03, which is a fully textured building using realistic materials and lighting. This example has also now been fully embedded in the photograph, with existing trees removed etc.
These various stages are often worked through in order, as the planning stages progress, and the design of the proposed development is refined. It makes sense to use AVR00 images at early stages when discussing the scale and basic position of a proposal, without planners being distracted by the potential design of a building.
Likewise AVR02 can be beneficial if final material options are not yet nailed down.
Once we arrive at AVR03 much of the technical work is already done, and approved. As an artist I can concentrate on refining materials and convincingly post editing the virtual building into the real background.
