Initially the plan for this CGI was to create a relatively straight forward photo-montage CGI; taking one single photo of the existing site and background buildings, then overlaying the CGI model of the proposed new development. However as the project developed and the photography was taken, it became apparent that it was going to be preferable to utilise a slightly different approach.
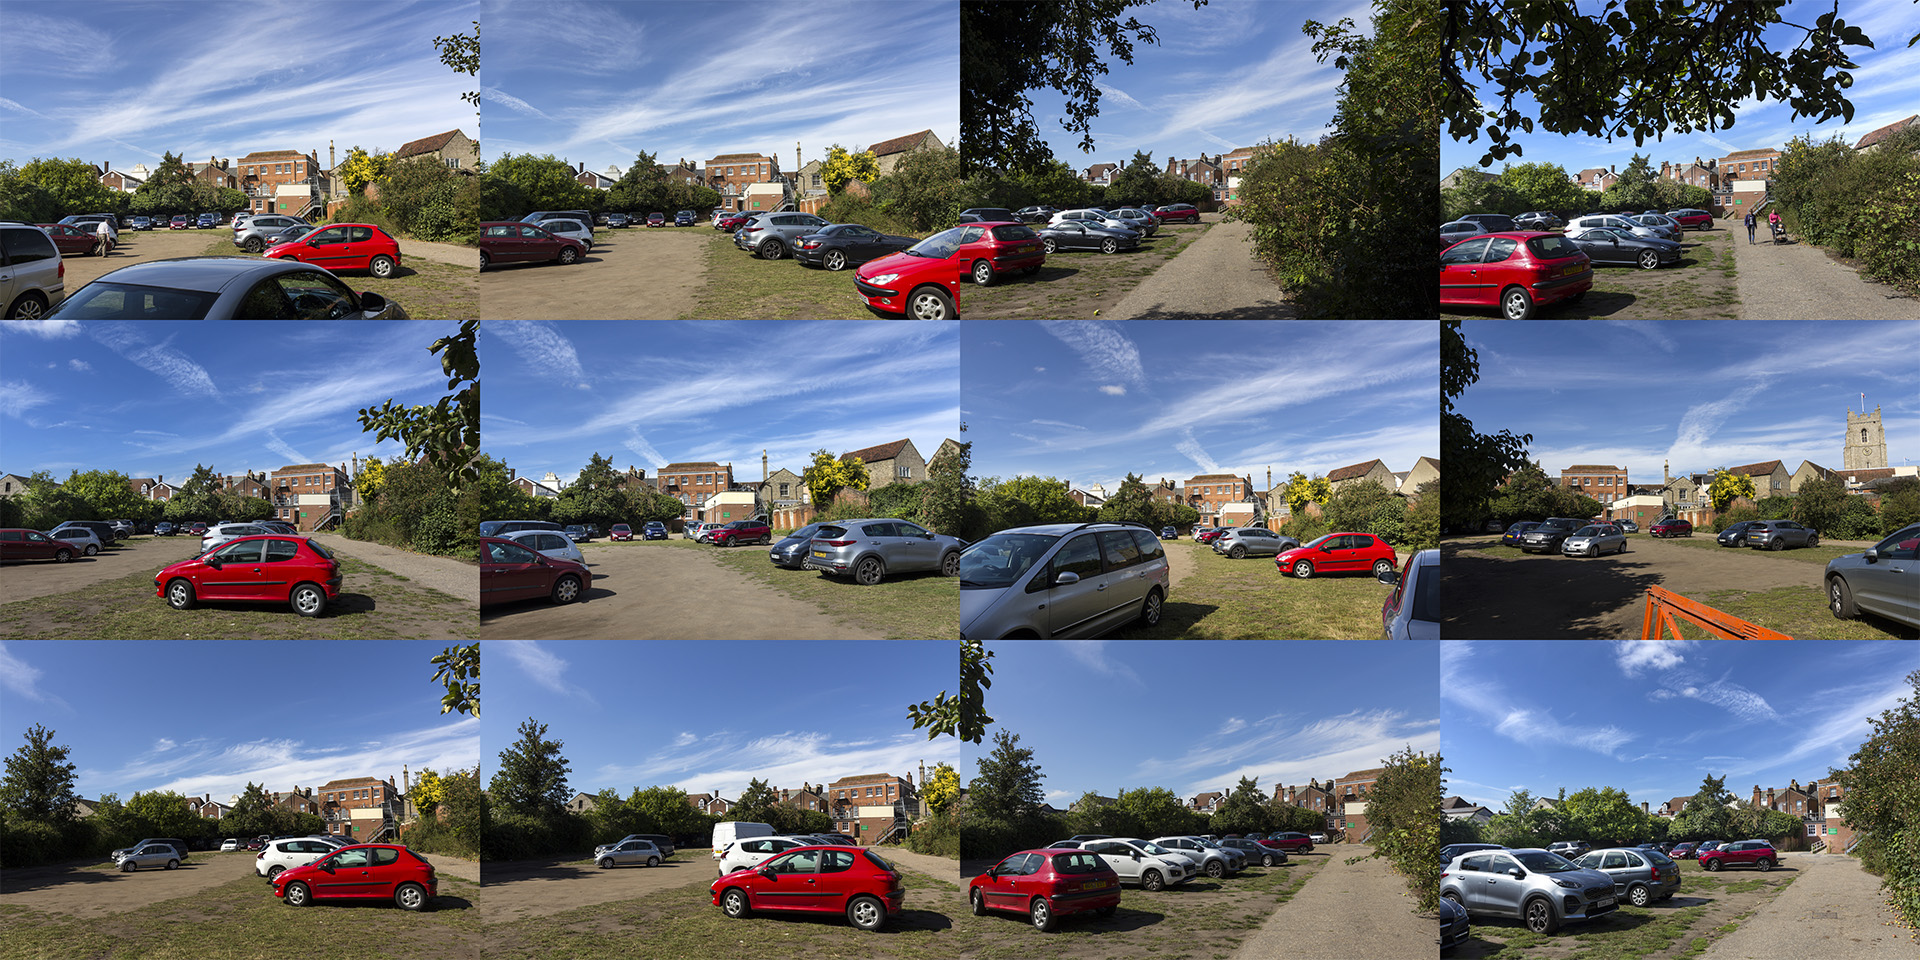
Before this change in approach was decided upon, I was commissioned to take the photography. The site has an attractive existing wall all around its boundary; the wall is around 2.5 meters at it’s lowest point, rising to over 3.5 meters at it’s highest.
This combined with a dense clump of existing trees and vegetation at one end of the site, meant that getting into position to take the photo from the requested angle was almost impossible.

Despite this, a series of photos were taken from a selection of the best possible angles (below). Along with a variety of reference photos, and panoramas to be used as reflection maps (above).
Two views were then provisionally chosen for further consideration. On which I overlaid a massing model of the proposed development; camera matched to each photo (below).
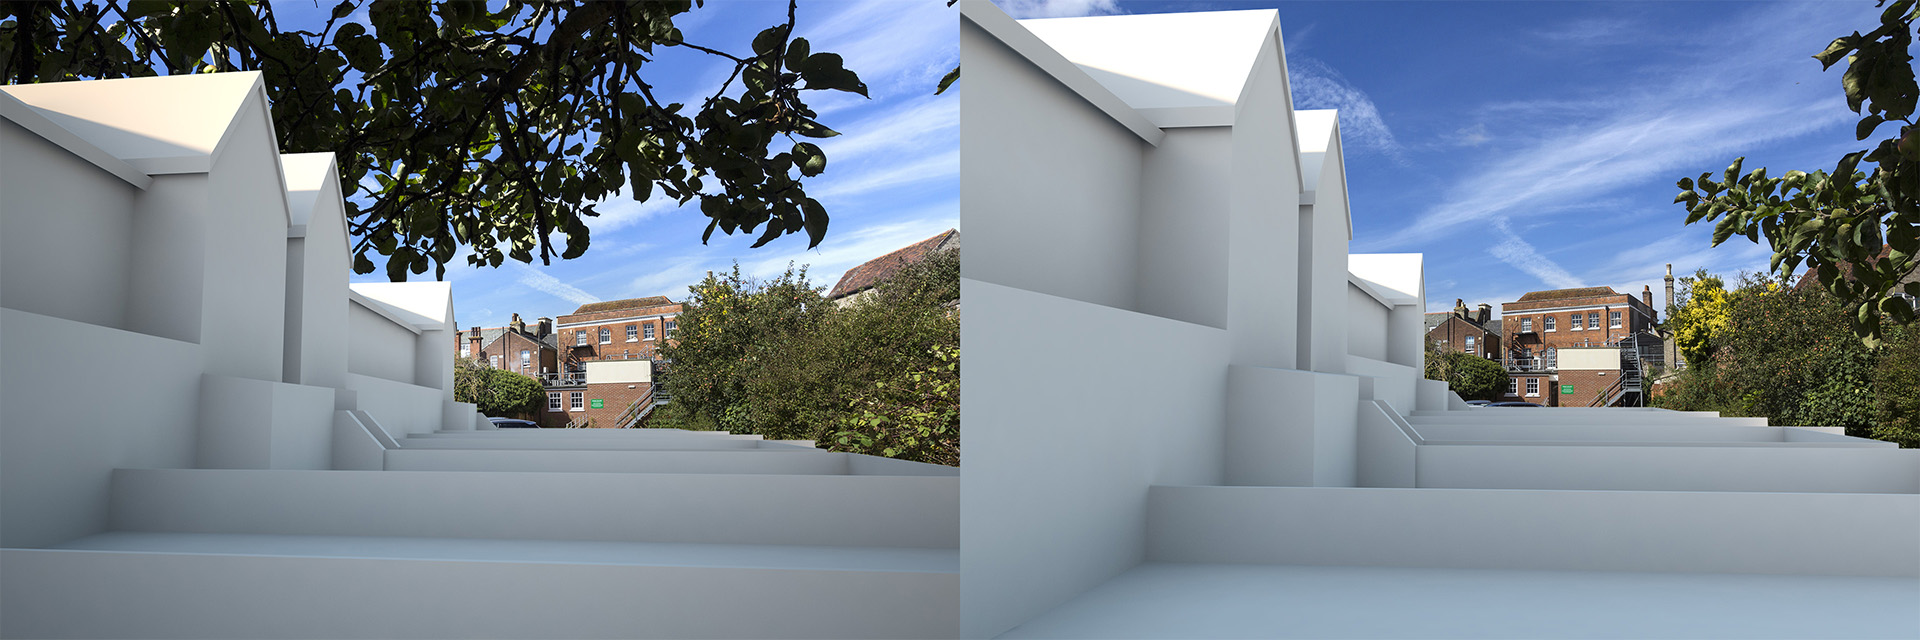
In order to have some reference points, to match the camera to each of the photos, I modeled some massing blocks of the existing background buildings. This extra modeling was done without survey data or drawings, but using a combination of satellite photography, counting brick courses, and the previously taken photos as reference. While clearly not pin point accurate, by checking that these blocks matched all the photos at different angles, I was quite satisfied with the resulting level of accuracy.
Once these draft views had been reviewed, it was decided to try raising the virtual camera up to a brand new position instead. In the real world this camera would be somewhere amongst the foliage of existing trees.
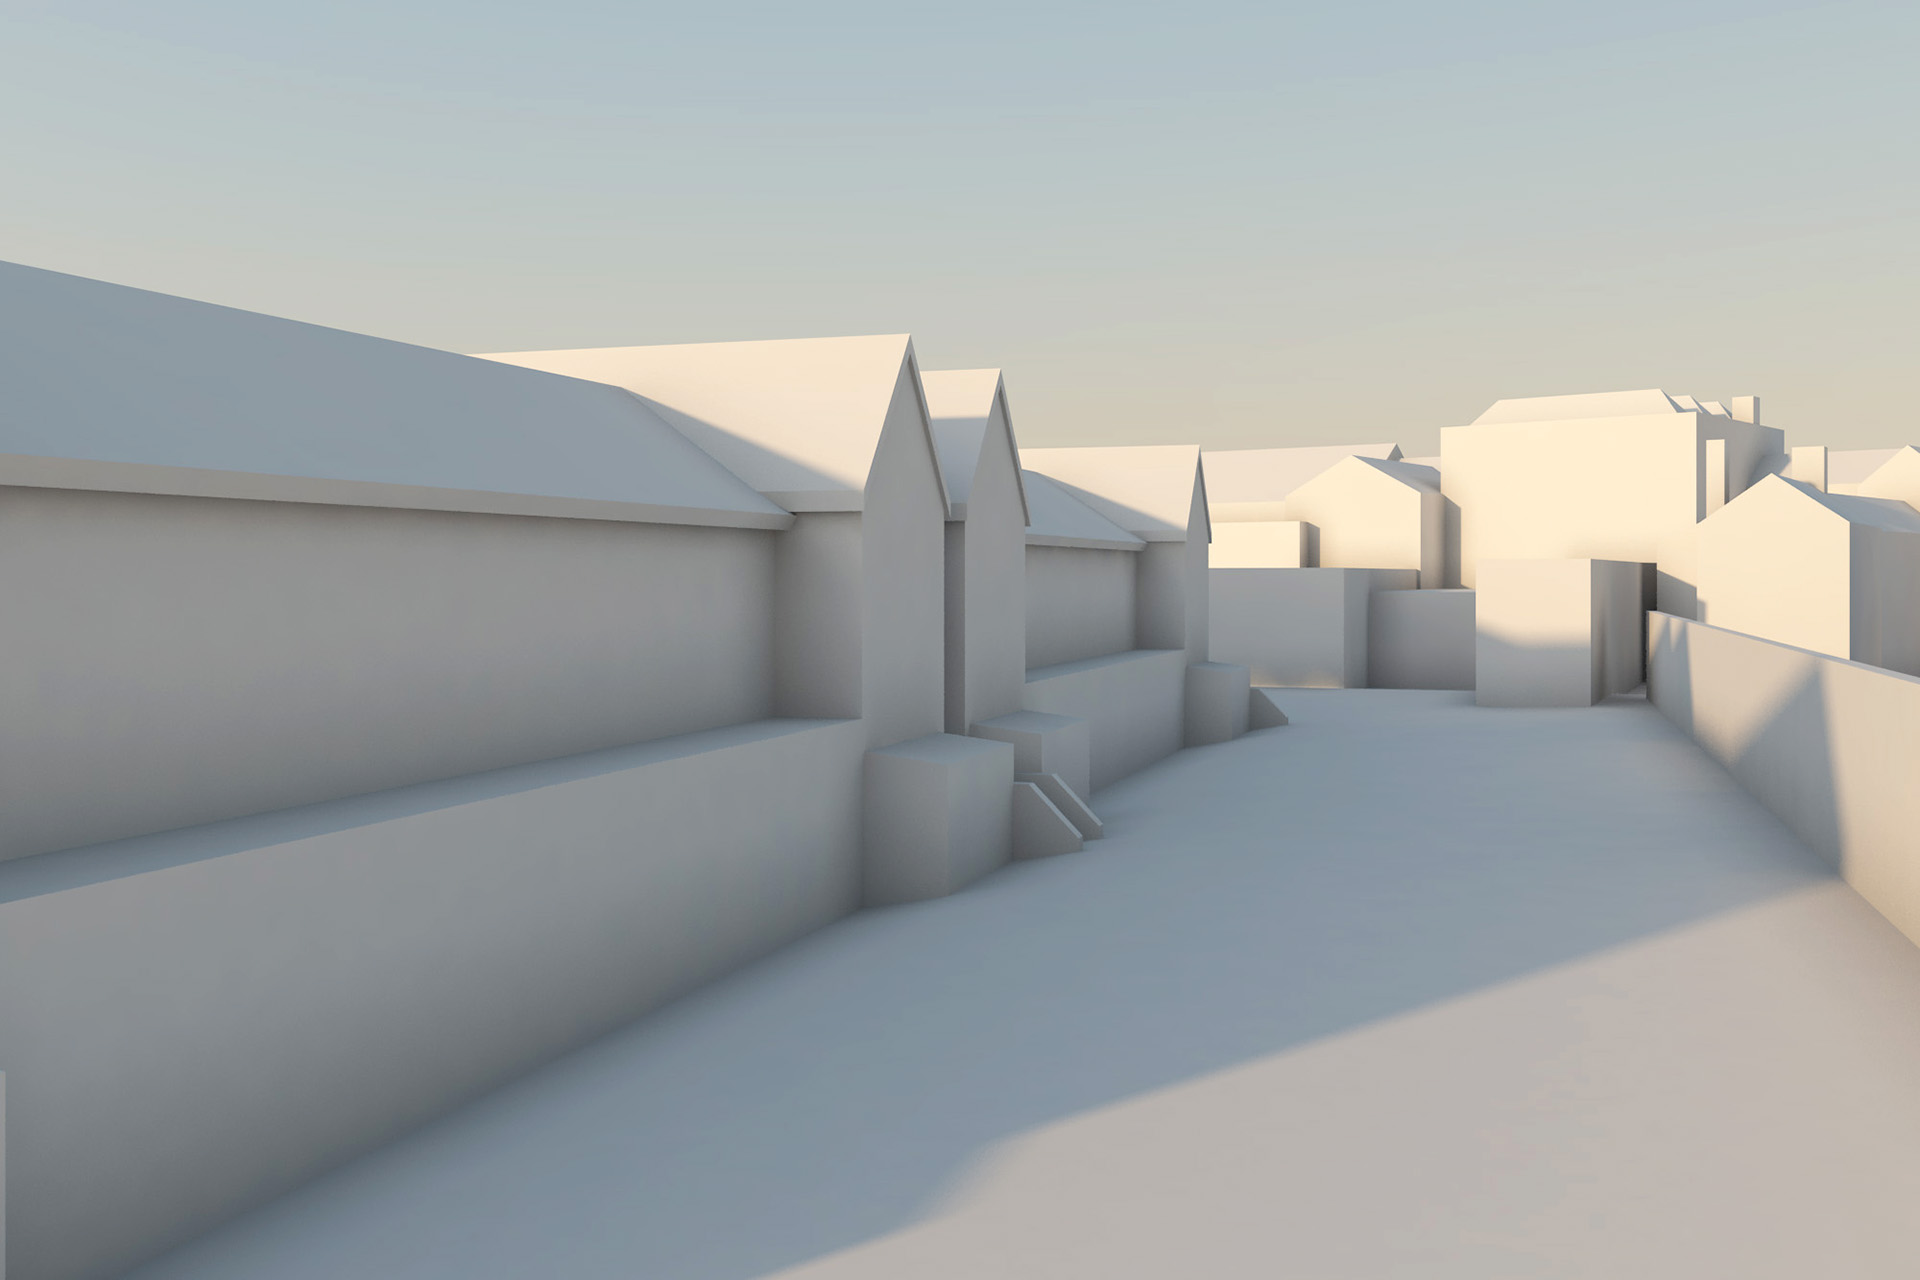
So this view was going to be great for the CGI model, but what about showing the existing buildings in the background? Well, as I already had modeled the massing blocks of these buildings, It wasn’t a great deal of additional work to model some extra detail, then using all the photos I’d taken I was able to create custom textures (below), to map on the windows etc.
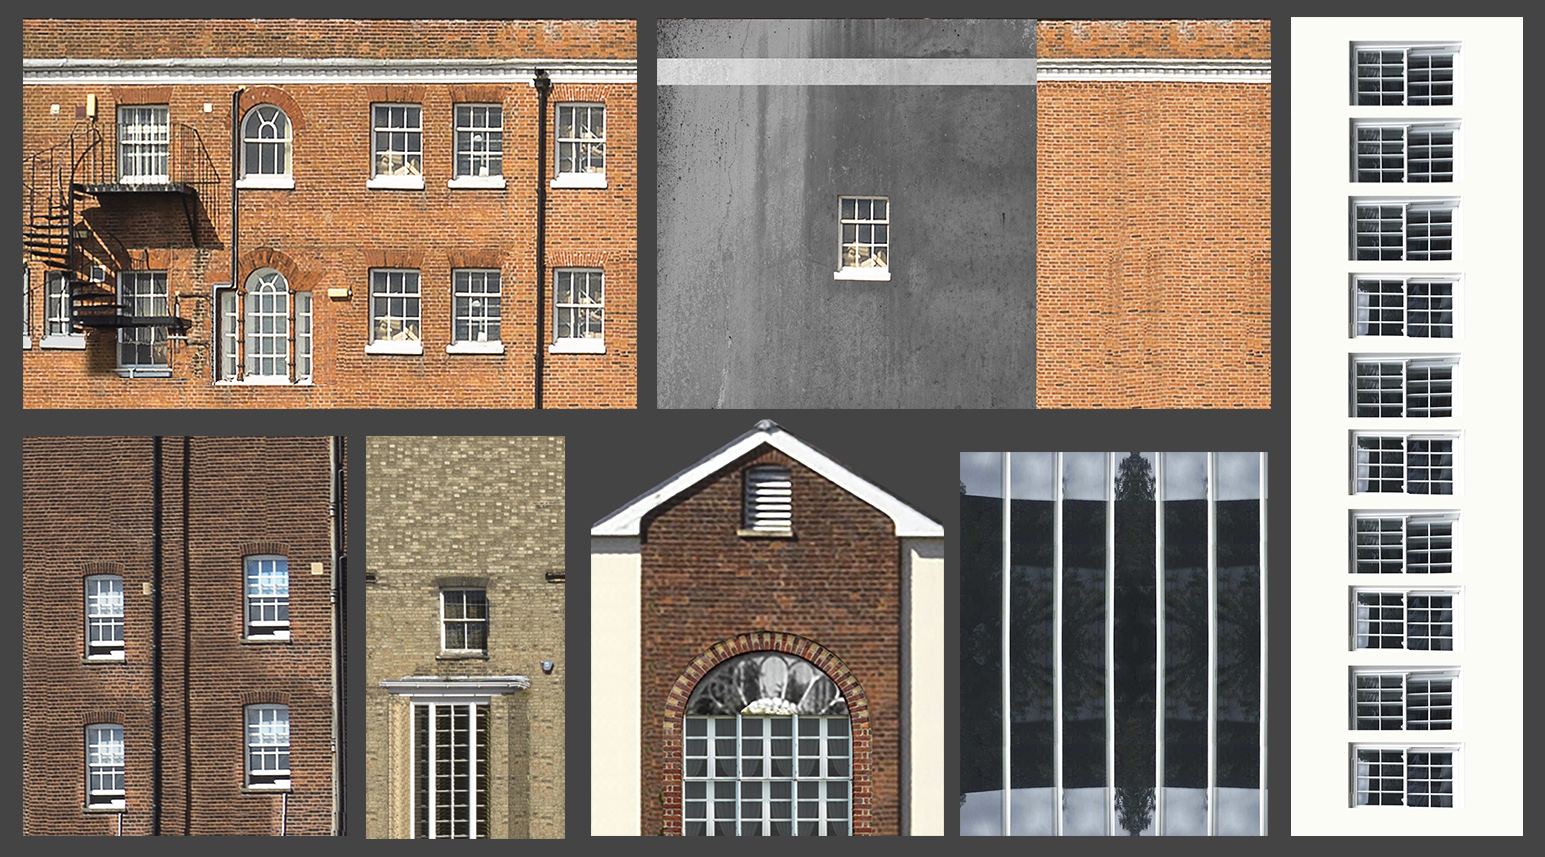
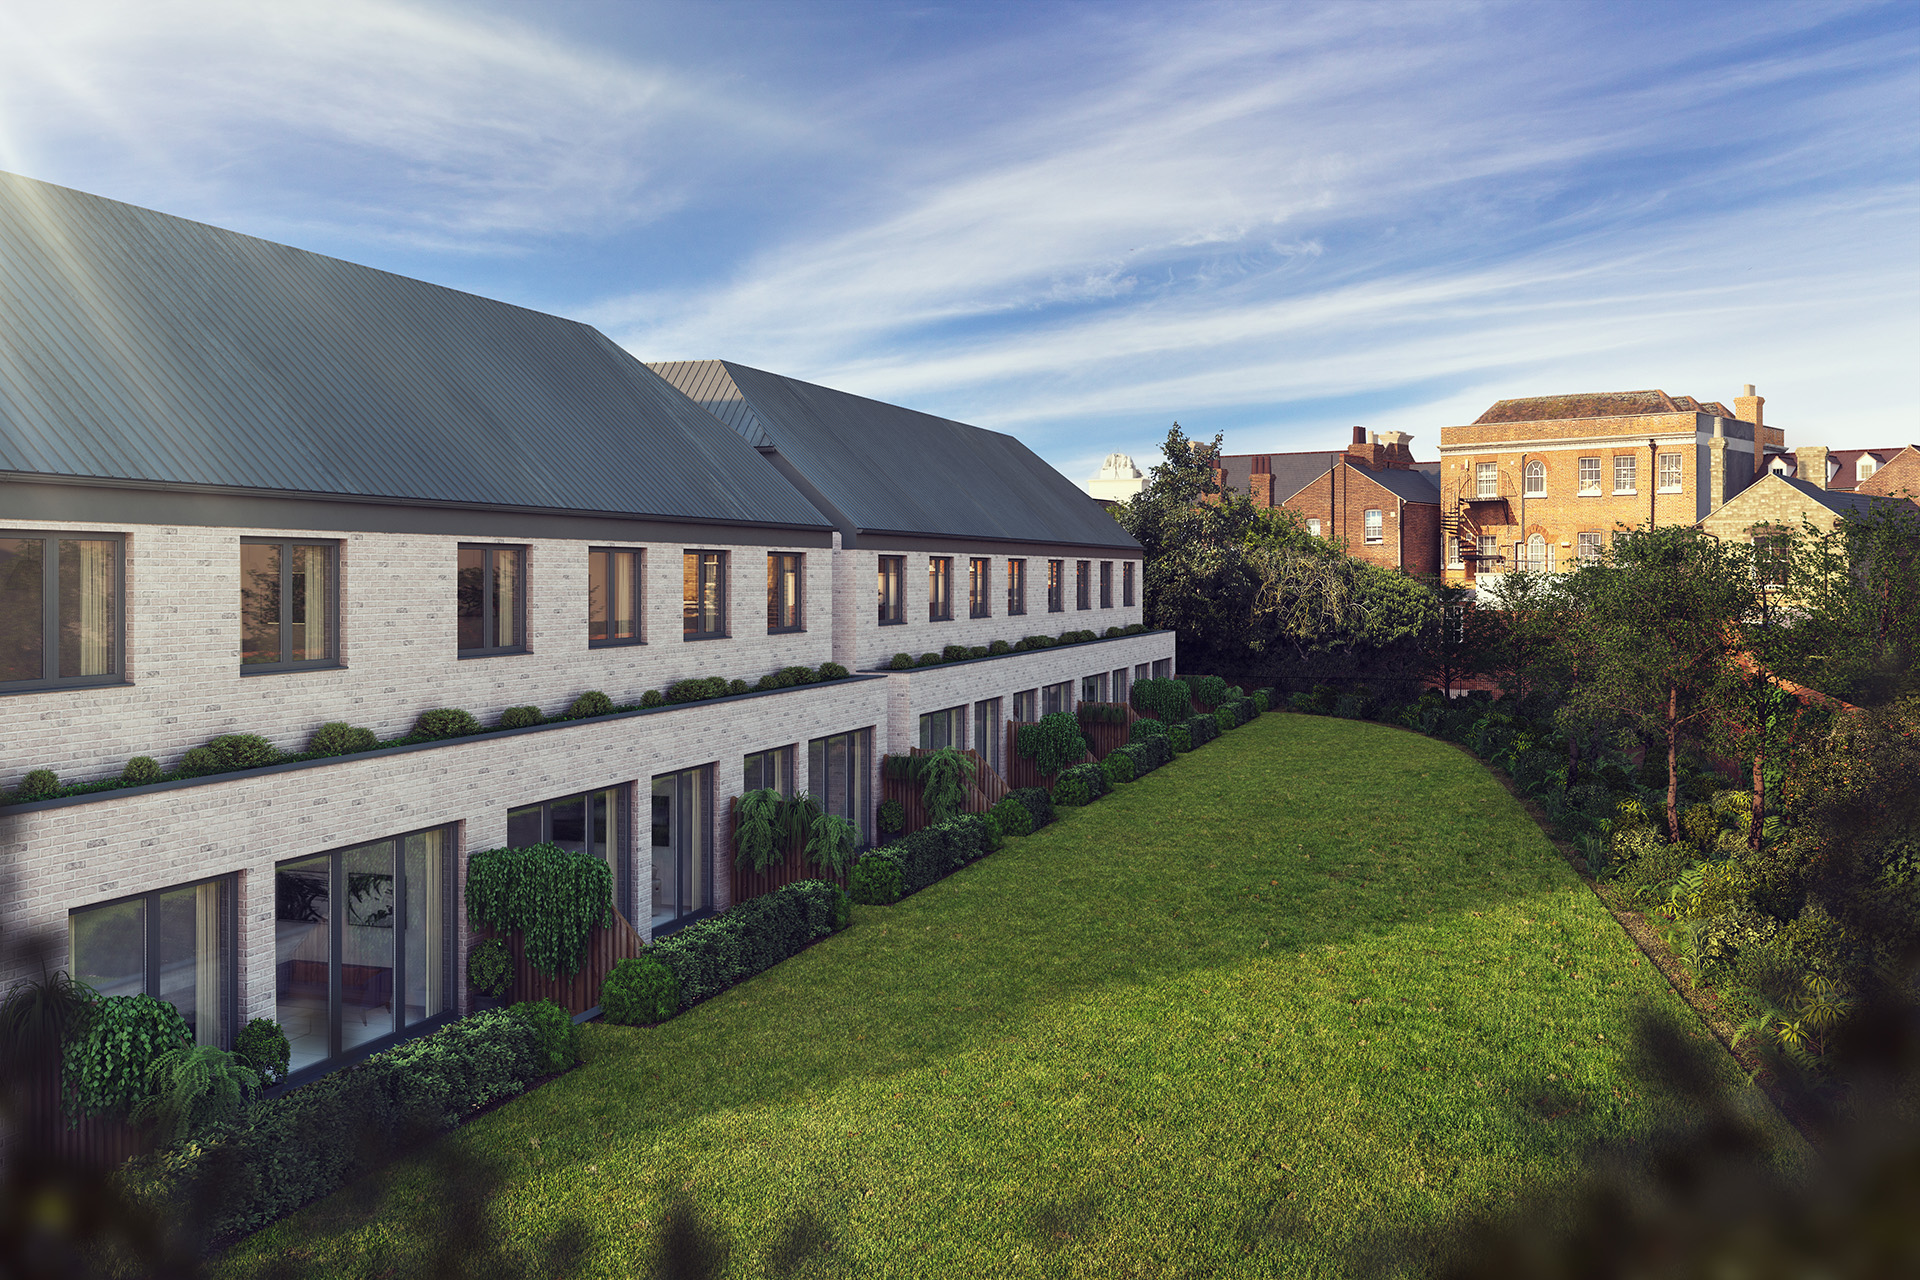
This meant I was no longer tied to any particular camera angle and could give the client exactly what they wanted. From now on it was treated as a regular project: On client approval of the low res draft image, I was able to render to full resolution and complete the post editing to produce the final image below…

You can also see from the final image above, compared to the earlier draft block models, the client was also able to use the initial drafts to help make some adjustments to the building design before the final full resolution rendering was started.
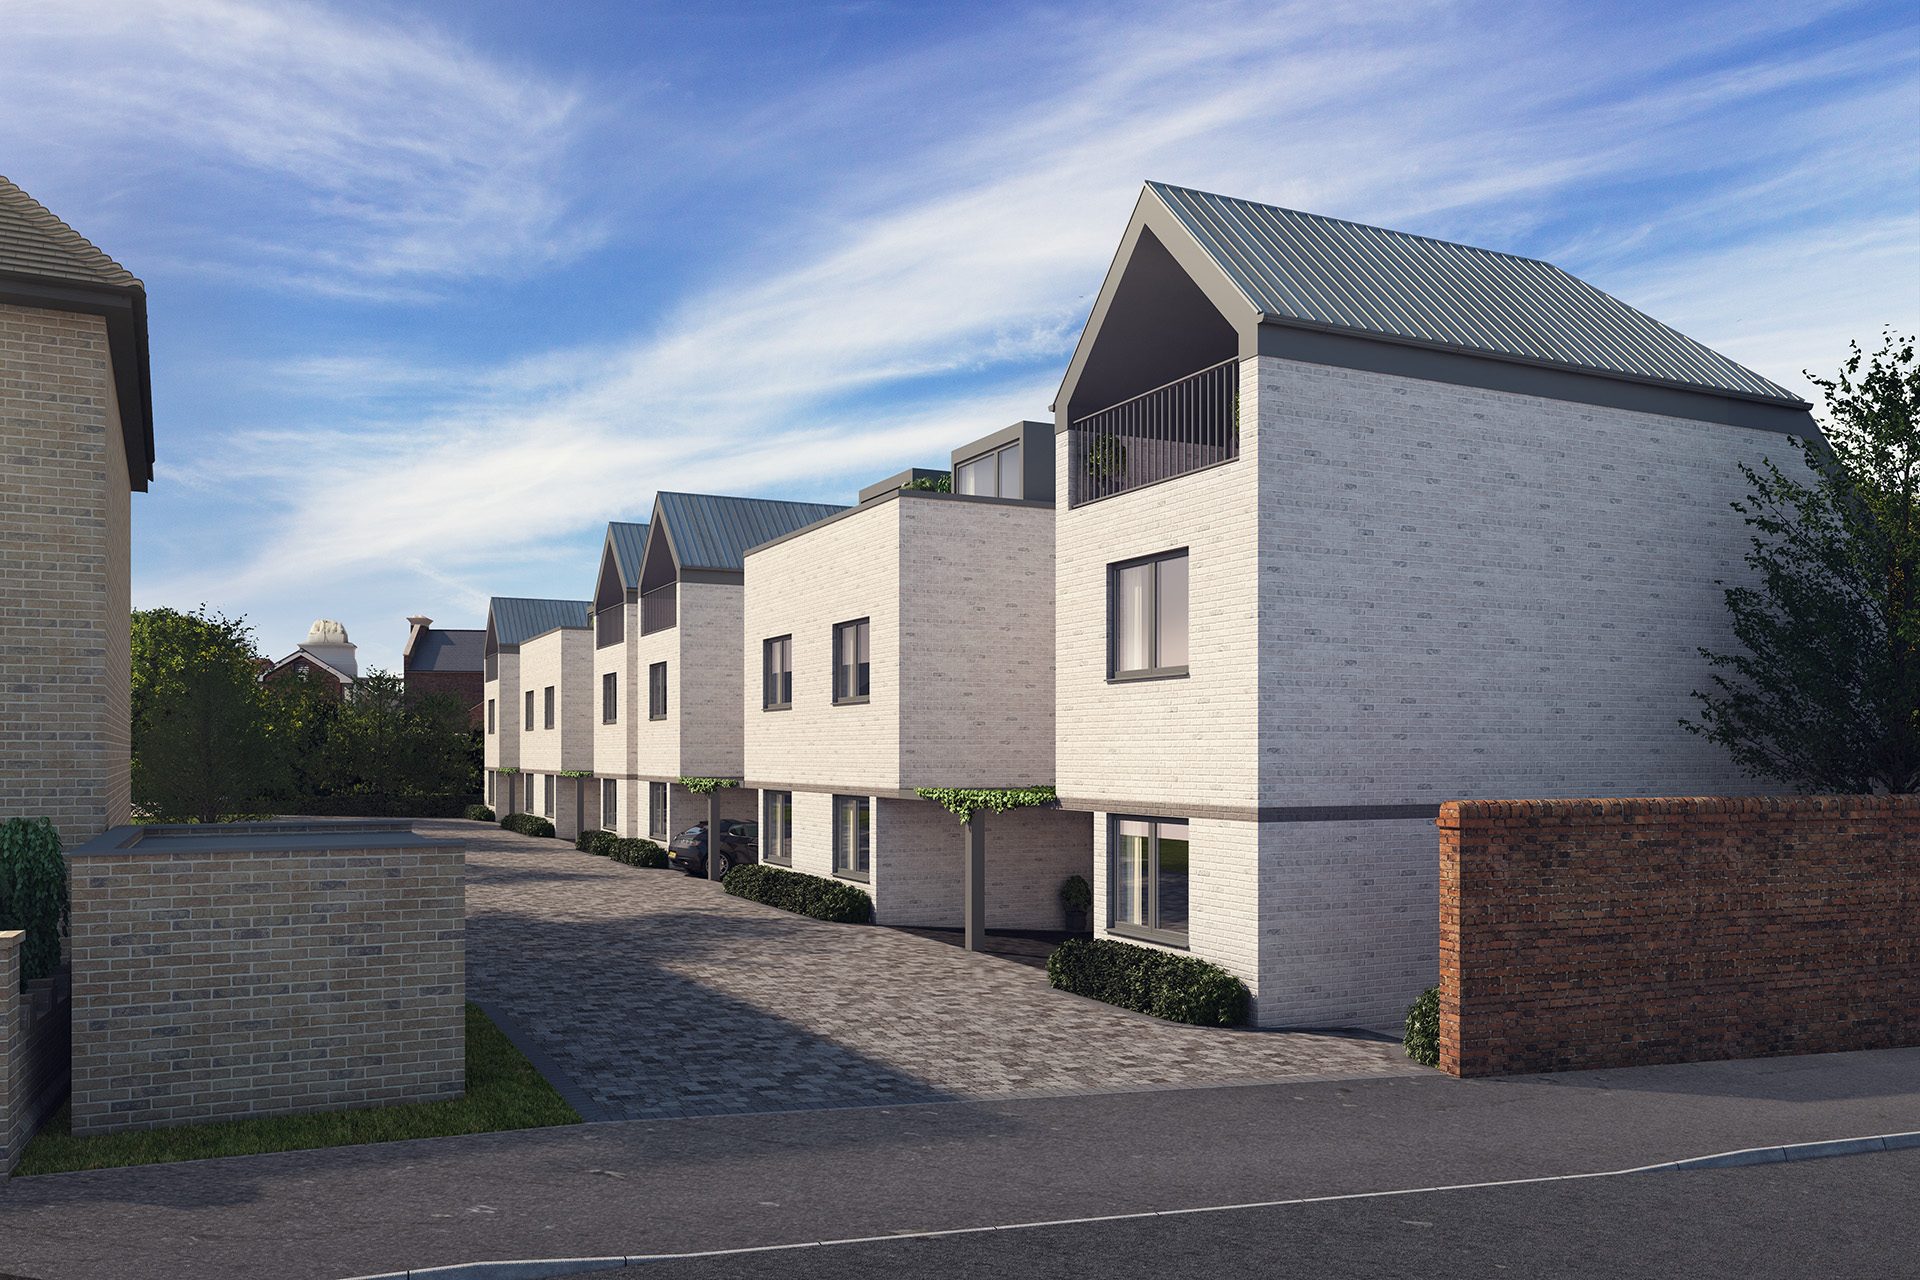
Happily I was then commissioned to create a second CGI (above) showing the front of the proposed properties, this required some additional modelling of the newly visible elevations, but happily the existing building models in the background were all still there and perfectly usable for this view as well.
